rust bucket 63 f250 4x4 cab rebuild (bullet)
Posted: November 12, 2011, 9:33 am
thought i would try and post up pics of my rebuild since i liked watching everyone elses rebuilds. i have trouble getting multiple pics to load (internet provider is not so good around here). if it doesn't work i'll delete the post.
anyway i did a rattle can restoration because the truck was pretty much shot and i don't have the time, skills, or money for a show quality restoration. and i need a truck so this one is going to get used although she is semi-retired. previous owner namer her bullet (ironic name given she ain't very fast) so i'll stick with that.
wasn't too hard given all the guidence i got here and on fte. took A LOT longer than i thought though, about a year. the rest of the truck should be easier. ended up having to raise the front of the cab about 1 1/2", it had settled through the mounts and was resting on the frame. i think the cab still may be slightly low up front so i'll add a spacer at the cab mounts if i need to. nothing up front is lined up yet i just put 2 or 3 bolts in and started driving it until i get around to adjusting doors, hood, etc.
thanks to the members here and on fte for all the help.
btw if your welding up front around the cab insulation be carefull it catches on fire easily.
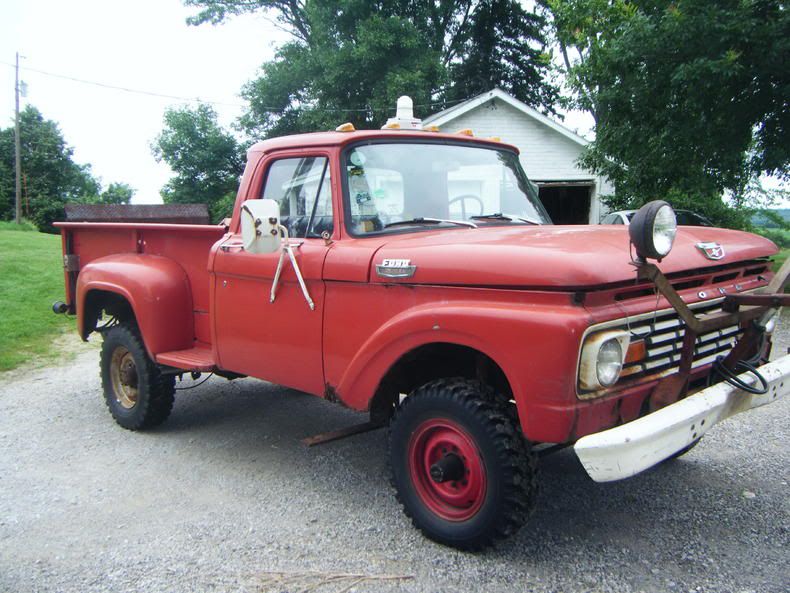
truck came from rockford illinois area. it was i believe the city plow truck in hampshire ill. paid $900.00.



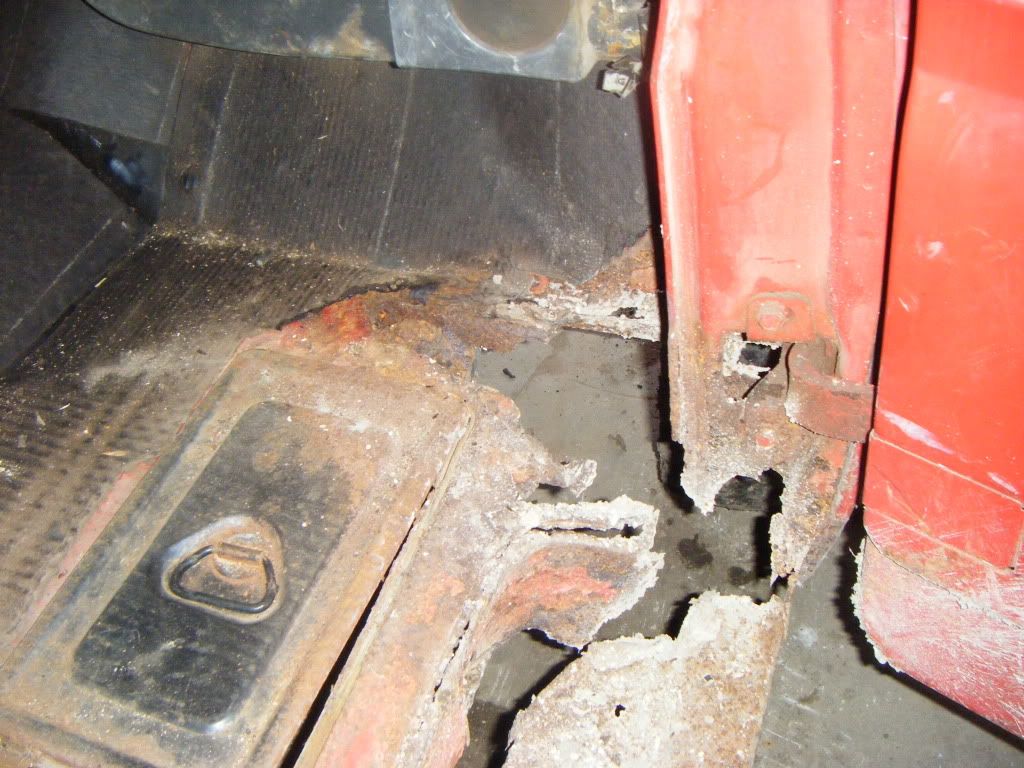
passenger side, not much better.


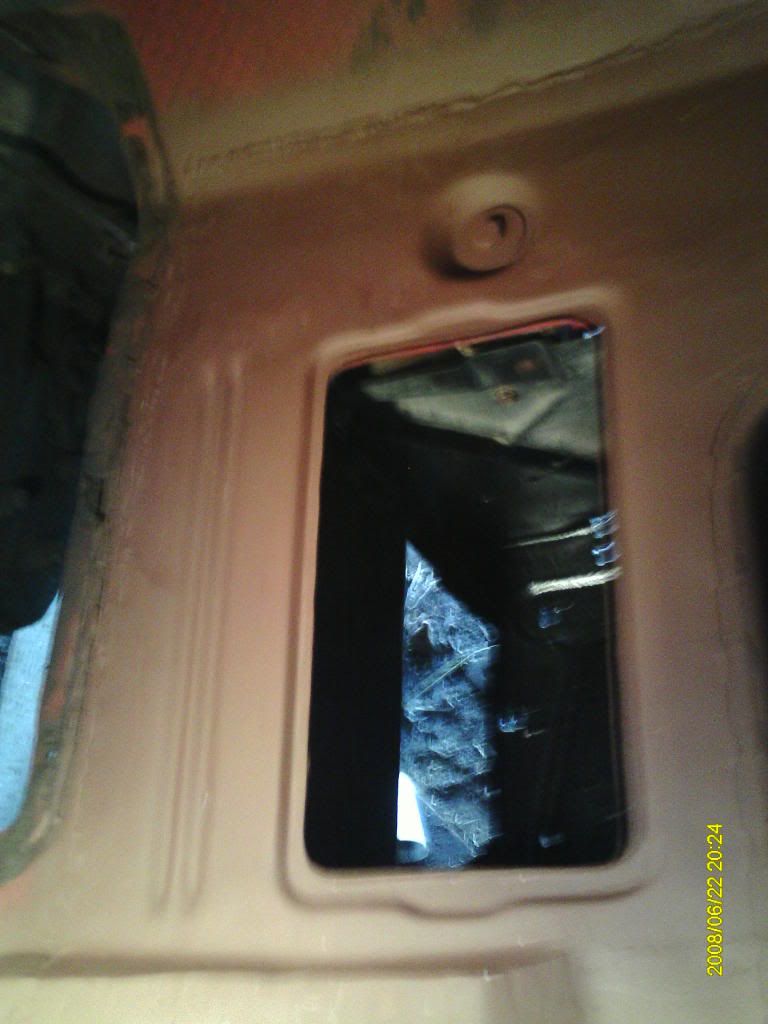
had to modify the heck out of the cab mount if i want to use the original battery location.

had to cut battery hole in new floor pan.
top of pillar pretty much shot, had to make a new piece from scratch.


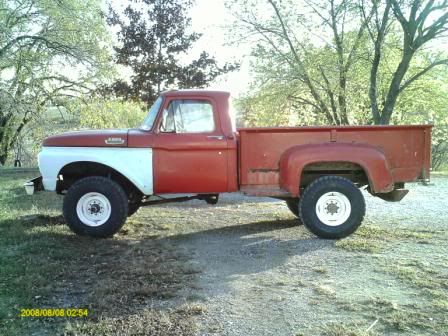
new tires, went with 33's (255 85 r16)

anyway i did a rattle can restoration because the truck was pretty much shot and i don't have the time, skills, or money for a show quality restoration. and i need a truck so this one is going to get used although she is semi-retired. previous owner namer her bullet (ironic name given she ain't very fast) so i'll stick with that.
wasn't too hard given all the guidence i got here and on fte. took A LOT longer than i thought though, about a year. the rest of the truck should be easier. ended up having to raise the front of the cab about 1 1/2", it had settled through the mounts and was resting on the frame. i think the cab still may be slightly low up front so i'll add a spacer at the cab mounts if i need to. nothing up front is lined up yet i just put 2 or 3 bolts in and started driving it until i get around to adjusting doors, hood, etc.
thanks to the members here and on fte for all the help.
btw if your welding up front around the cab insulation be carefull it catches on fire easily.
truck came from rockford illinois area. it was i believe the city plow truck in hampshire ill. paid $900.00.
passenger side, not much better.
had to modify the heck out of the cab mount if i want to use the original battery location.
had to cut battery hole in new floor pan.
top of pillar pretty much shot, had to make a new piece from scratch.
new tires, went with 33's (255 85 r16)


 i like the large opening fenders also. have a couple sets but they're both pretty rough, i would like to find some good ones but i rarely see them for sale and when i do they're kinda spendy. pbly a dumb idea but i've thought about buying some new fenders and converting them over to wide opening fenders useing my beaters as a pattern. pbly just need to weld some tubeing cut in half longways into the opening after i cut it out, or just spend the money and buy some.