Finished the new bedliner!

The place to talk Slicks. All we ask is that discussion has something to do with slicks...

Moderators: Casey 65, Kid

Post Reply
Sarg
Posts: 129
Joined: October 6, 2010, 5:50 pm
Location: Atlanta, GA

Finished the new bedliner!

Post by Sarg »

Well, finished up today. It has taken me about 6 weeks of a little here, a little there. Yesterday I spent a solid 10 hours on the truck and finished getting everything back to bare metal, made and welded in a patch panel for the bed floor (I was proud seeing as I used nothing but a ball peen hammer and a 3" vise!). The bed was not perfect to start with. There were some areas I had to treat with rust treatment and some dents I was not really worried about. This is not a show truck and never will be. It will be used as it was intended, hauling around parts and whatever else might be needed.

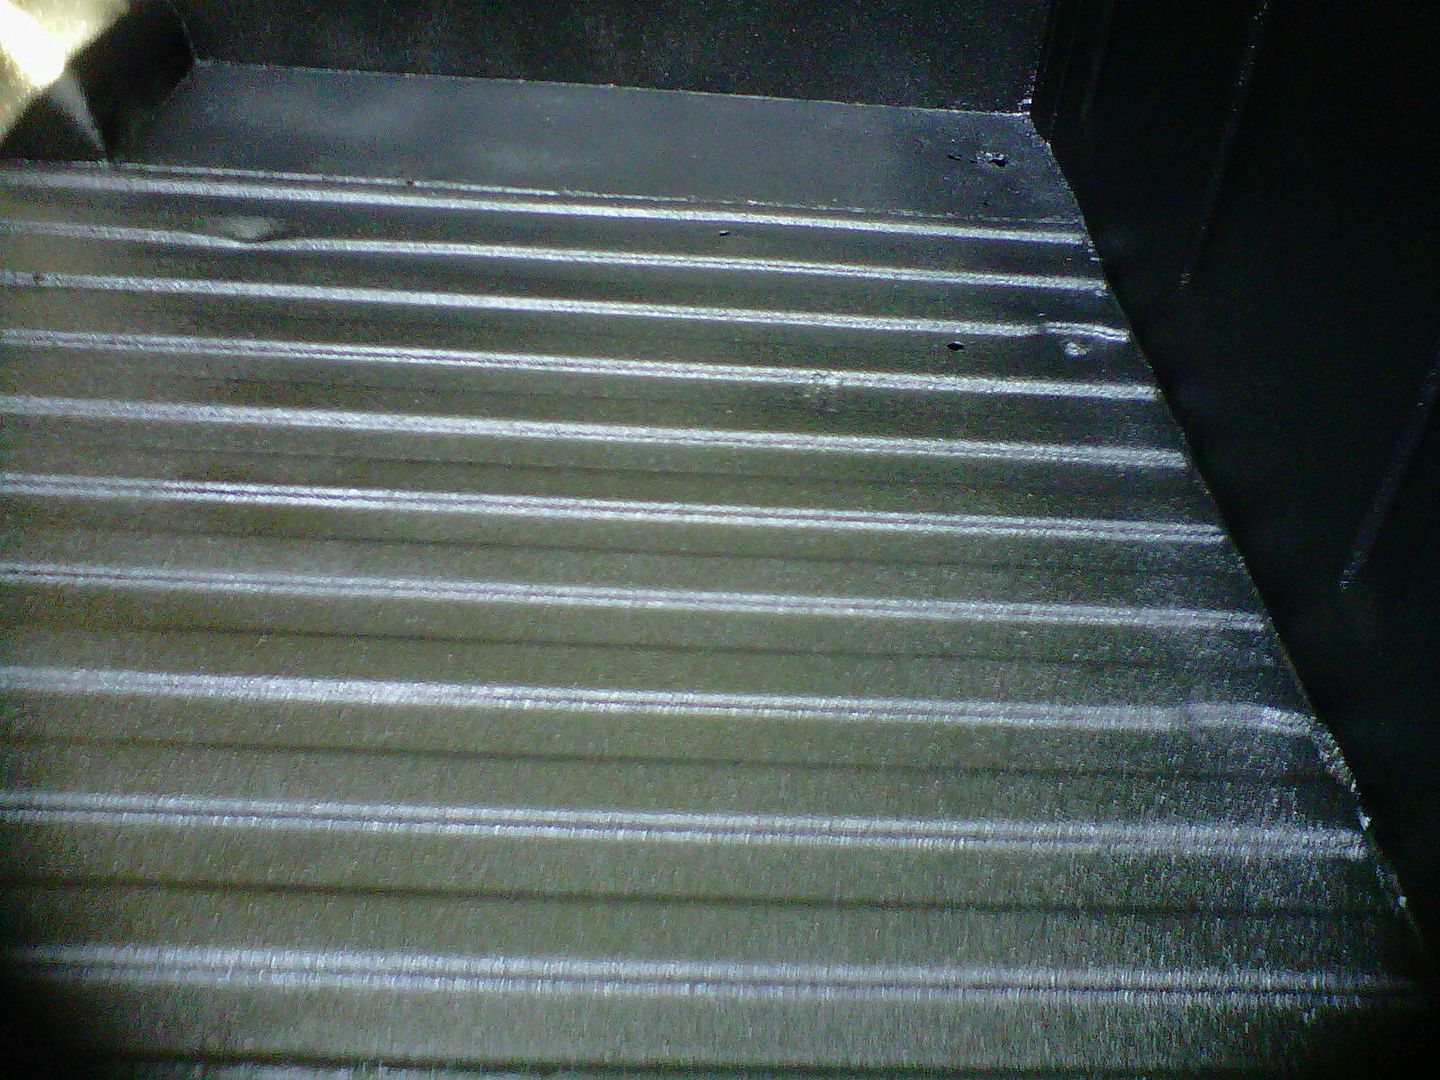
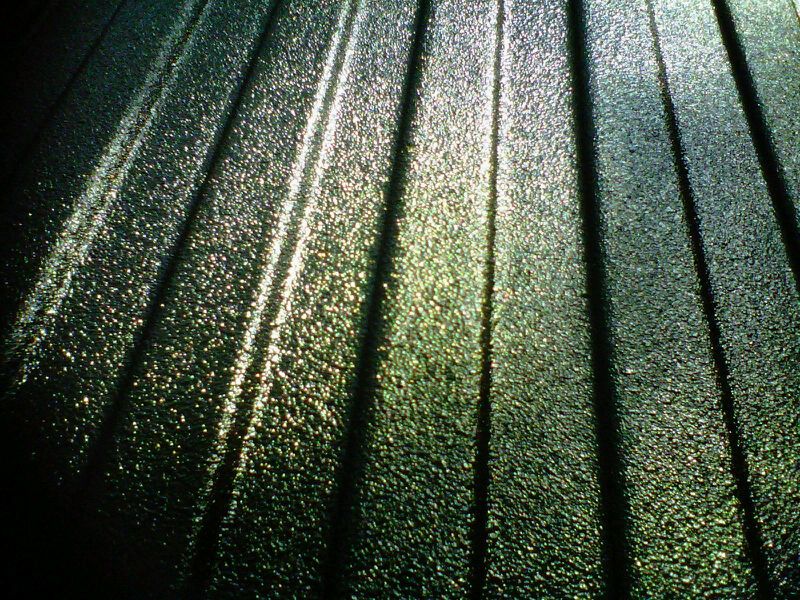
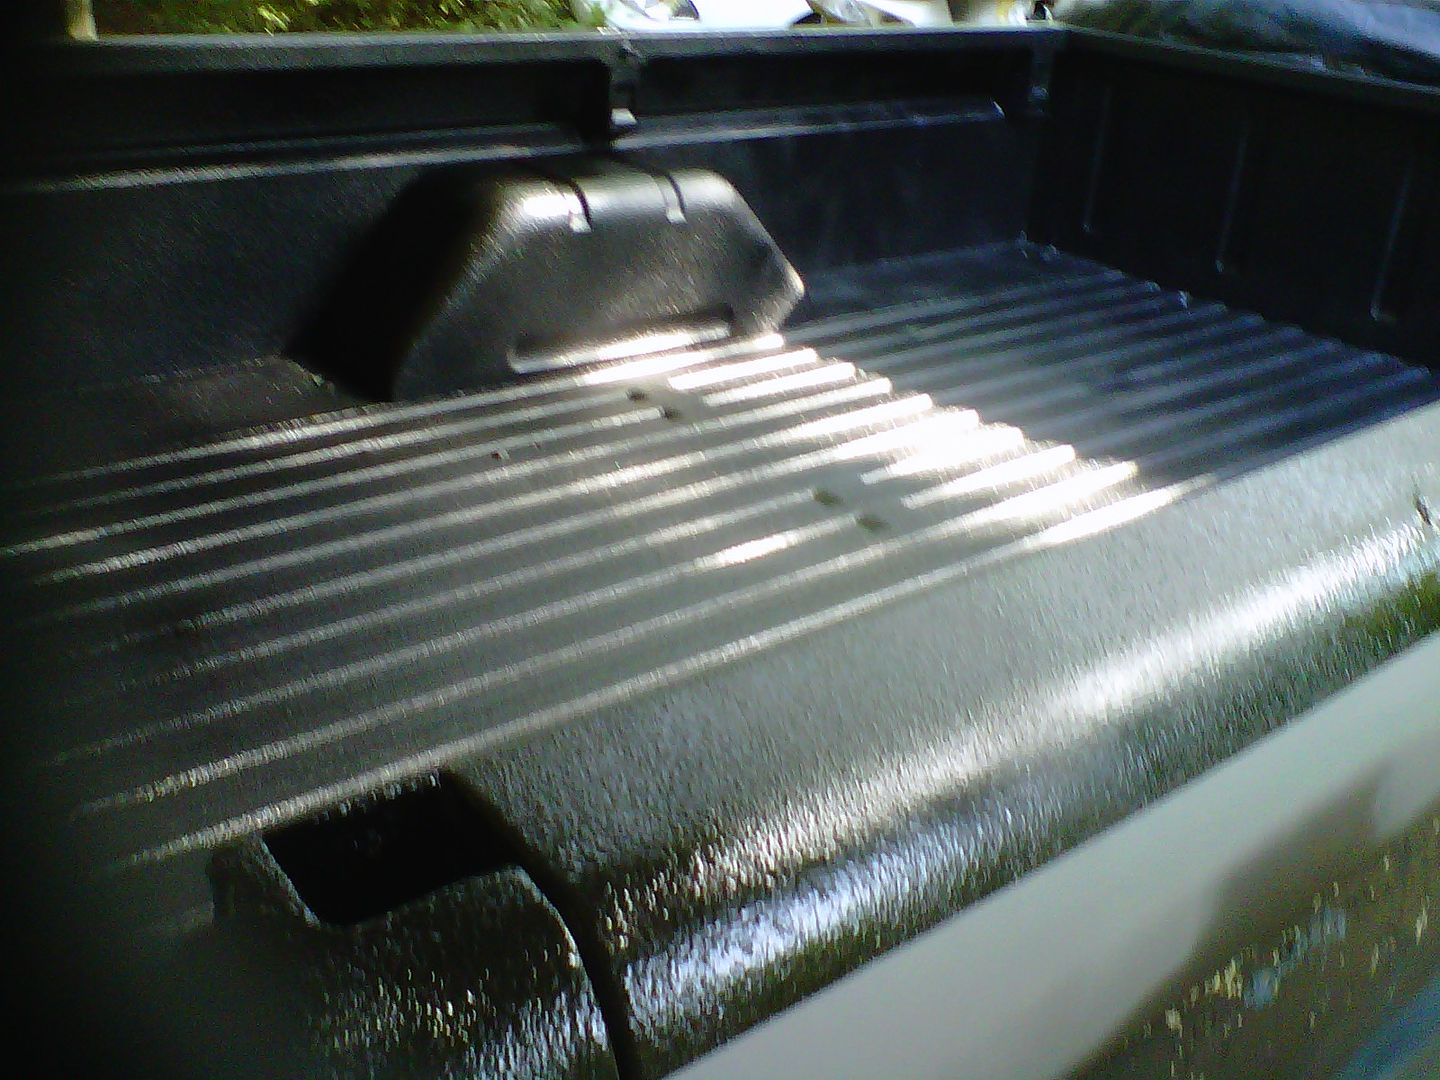
Today I finished priming it with a self etching primer and sprayed in the liner. Overall I was quite impressed with the raptor liner for the money AND the results. It looks just like the professional jobs I have seen.

A couple of notes...for those with longer styleside beds like me, order a couple extra bottles of the liner as well as some more hardner. While I have everything covered, I started to realize that going with a real thick coat like I was doing at first was going to make me run out, lol. One extra bottle would have been nice, two would have been perfect.

Where gloves and don't try to tip the spray gun too far as the liner will come out of the hole in the top! Once that stuff gets on your hands it is a pain to get back off!

Mask off anything and everything you don't want to get this line on. It will get to places you did not expect. When it is wet, you can try to wipe it off, but it won't come off easily.

Now the pics :)

Image
Image
Image
MadMaxetc
Posts: 2600
Joined: July 10, 2006, 12:00 pm
Location: Wichita, KS
Contact:
United States of America

Post by MadMaxetc »

Looks realy good!
Dan
Project: '63 F-100 LWB / 460 / C6 / 2x4
My Build Thread
User avatar
Alan Mclennan
Posts: 9324
Joined: October 14, 2006, 6:16 pm
Location: In the shed... Cranebrook NSW
Australia

Post by Alan Mclennan »

Well done Sarg!, how about a before pic?, for a comparison!
Honey, If I say I`ll fix something I will, there`s no need to remind me every 6 months!!
66 f100 tabletop swb 351 Clevo C6 "Beryl"

Slick Stock 3 KCMO
Slick Stock 4 Altoona
Slick Stock 5 KCMO
Slick Stock 6 Altoona
Slick Stock 7 Salina KS
Slick Stock 8.............................. cry.gif
Sarg
Posts: 129
Joined: October 6, 2010, 5:50 pm
Location: Atlanta, GA

Post by Sarg »

ehhhhh....not sure if I have a before. Imagine the bed painted with blue brushed on house paint, lol. Oh and a 6"x6" hole cut in it with what looked to be a torch! This truck was a bit of an undertaking when I bought it. But I enjoy restoration, so to me it is fun.
User avatar
Alan Mclennan
Posts: 9324
Joined: October 14, 2006, 6:16 pm
Location: In the shed... Cranebrook NSW
Australia

Post by Alan Mclennan »

Fun is what it`s all about Sarg!
Honey, If I say I`ll fix something I will, there`s no need to remind me every 6 months!!
66 f100 tabletop swb 351 Clevo C6 "Beryl"

Slick Stock 3 KCMO
Slick Stock 4 Altoona
Slick Stock 5 KCMO
Slick Stock 6 Altoona
Slick Stock 7 Salina KS
Slick Stock 8.............................. cry.gif
User avatar
DukeRoche
Posts: 872
Joined: June 1, 2009, 9:28 pm
Location: Cambridge Springs, PA
United States of America

Post by DukeRoche »

That is sharp looking. Congrats on a job well done.
The Green Machine

GO ARMY, BEAT NAVY!
User avatar
HiBoy63
Posts: 1235
Joined: March 12, 2007, 1:48 pm
Location: Colbert Wa
Ireland

Post by HiBoy63 »

You would never know there was a 6" hole in that bed anyplace. looks good.
1963 F250 4x4x292
1965 F100 4x4x352
1998 F150 4x4x4.6
2001 Sport Track 4x4x4.0

In case you are wondering thats Ireland......Freedom is not Free!!!!!!!!

Heritage country Flag
andgott
Posts: 167
Joined: May 26, 2011, 10:11 pm
Location: Athens, TN
Contact:

Post by andgott »

Looks nice! My bed needs attention- I might need to look in to doing it this way.
User avatar
macgiobuin
Posts: 703
Joined: September 13, 2009, 4:41 pm
Location: Chattanooga, TN

Post by macgiobuin »

Nice! Very well done.
My Baby: 1966 F100
Sarg
Posts: 129
Joined: October 6, 2010, 5:50 pm
Location: Atlanta, GA

Post by Sarg »

HiBoy63 wrote:You would never know there was a 6" hole in that bed anyplace. looks good.
Eh, you can tell, believe me. Since I overlapped the patch rather than cutting it to size (my welding skills are still developing and overlap is easier for me :) ) you can see a definitive patch, but my thought is when I go back to touch up the bedliner I will build up a layer of bedliner a bit more around the patch and it won't be AS visible.
Sarg
Posts: 129
Joined: October 6, 2010, 5:50 pm
Location: Atlanta, GA

Post by Sarg »

Alan Mclennan wrote:Well done Sarg!, how about a before pic?, for a comparison!
Here is the only kind of before pic. The bed was the blue color you see with paint chipping and showing the yellow you see underneath. This is also a pic of the patch I made.

Image
User avatar
tray
Posts: 87
Joined: July 18, 2010, 5:45 pm
Location: Ga.
United States of America

Post by tray »

Great job, looks great!
Post Reply